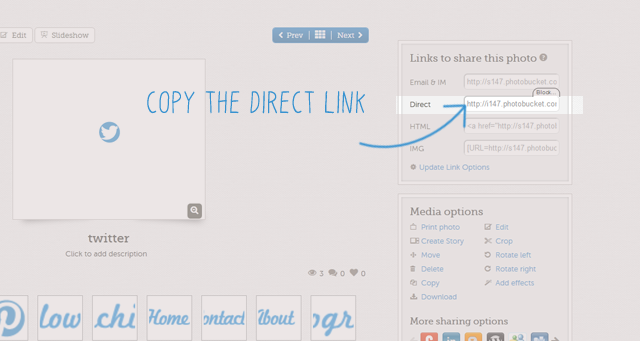
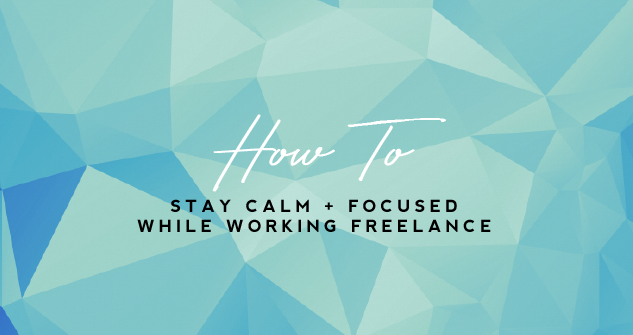
Keeping focused and calm during a big project can prove pretty difficult sometimes, especially if things go wrong. These past three weeks have seen ups and downs, disasters and successes as well as some stress filled days.
I’ve been working on the biggest project I’ve ever been commissioned to do so I was determined to succeed and make it happen. It meant learning a lot along the way and also thinking on my feet. It also caused stress when things started to go wrong and I had the horrible feeling it might not be done in time. Finding ways to stay calm, focused and motivated were essential to keep on top of things.With all this in mind I wanted to share some of the things I’ve learned or rediscovered during the project.
Write It Down
- Research
- Initial Sketches
- Finalise Design
- Digitise Line Work
- Deliver Final Design
This keeps you on track and focused on the smaller goals instead of one big intimidating one.
Take a Breather
Breaks are important to keep you motivated, especially if you’re stuck in a rut or suffering from the dreaded creative block. Take five minutes to do some deep breathing or half an hour to chill out and get some lunch. Going for a walk is another great way to refresh your brain. Go out and get some air and you’re guaranteed to come back ready to go. Take a camera and/or notepad with you too as you never know when inspiration will strike.
Whatever you choose make sure you walk away from what you’re working on and don’t focus on it! I personally love taking half an hour out to read a chapter or two of a book. It totally breaks my mind away from what I’m working on, allowing me to go back completely refreshed and ready to work. Remember to set an alarm though as we all know how a book can grab you and keep you!
Workin’ 9 to 5
It’s important to try and set regular working hours and a working schedule. This will help establish a routine and keep you organised.
Get up early and enjoy your breakie! Breakfast is a great time to prepare for the rest of your day. I’ve heard of folk practising mindful techniques or thinking of things they are grateful for to help them start the day on a positive. I personally like to spend my breakfast time relaxing and focusing on positive things before I start my work. It really helps me to get in the right frame of mind before getting stuck in.
I also like to take half an hour to watch some morning telly. Either Frasier or Everybody Loves Raymond are my shows of choice as a good dose of laughter can also set you up for a great day.
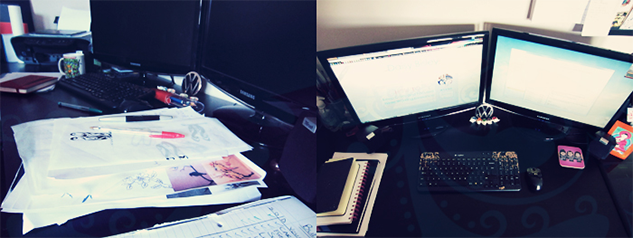
Sort Your Space Out
I am a notoriously messy desk keeper while working! During a project my work space ends up covered in paper, notes, pencils, pens and empty cups that once held my tea. It’s definitely something I still need to work on, especially as I feel way more productive when my desk is tidy! A tidy workspace will stop you getting distracted and in turn keep you more focused.
De-clutter your workspace and try to keep it organised. Organise your notes and inspirations on a pin board and make some cool storage pots for your stuff – the perfect excuse to get your DIY on (and make more mess), just make sure you tidy up after yourself!
And The Reward Goes To
Here’s the fun part! Help yourself to achieve your goals by setting rewards. If you get all your research done or knock out ten sketches then treat yourself to a walk in the park or something sweeter. You know, that tub of ice cream that’s been at the back of the freezer. Not all of it mind, just a wee bit. Go on, you;ve worked hard and deserve it! Or if you’ve been working solid for a few days without fail reward yourself with a day off.
Rewarding yourself this way will keep you motivated during a project, especially if you’ve been struggling with it. Recently I’ve been going for the ice cream reward, it’s definitely been getting my days work done knowing the Carte D’or was waiting for me at the end of the day.
Even if you’re not working on something at the moment I hope there is something you can take away from the things I’ve learned. Best of luck with all your projects.
How do you keep calm and focused when you’re working? Share your wisdom in the comments.